
Our motto? Never settle for plain. So when we found a stash of plain, solid-colored pencil cases, we just had to deck them out with a bit of embroidered felt.
We went with a classic No. 2 pencil to bedazzle our pencil case, but don’t stop there! Try your favorite animal or your favorite food for an even more personalized touch.
DIY Pencil Case
Level: Easy
What You Need
Instructions
1. Cut
Cut out all the felt pieces you’ll need to create your design. Lay them out next to each other to make sure they look good together and double check that they’ll fit on the pencil case.
2. Draw the Guides
Draw lines on each felt piece (you can use a ruler if you want). These will be your guide when you go to stitch! Just be sure to use a fabric pen that fades over time.
3. Stitch
Pick an embroidery floss that matches each piece of felt, and stitch along the lines you just drew. The running stitch is fast and easy, but there are loads of other stitches you can try.
4. Glue
When everything is embroidered to your liking, glue the pieces together. Let them dry, and then glue the whole thing to your pencil case.
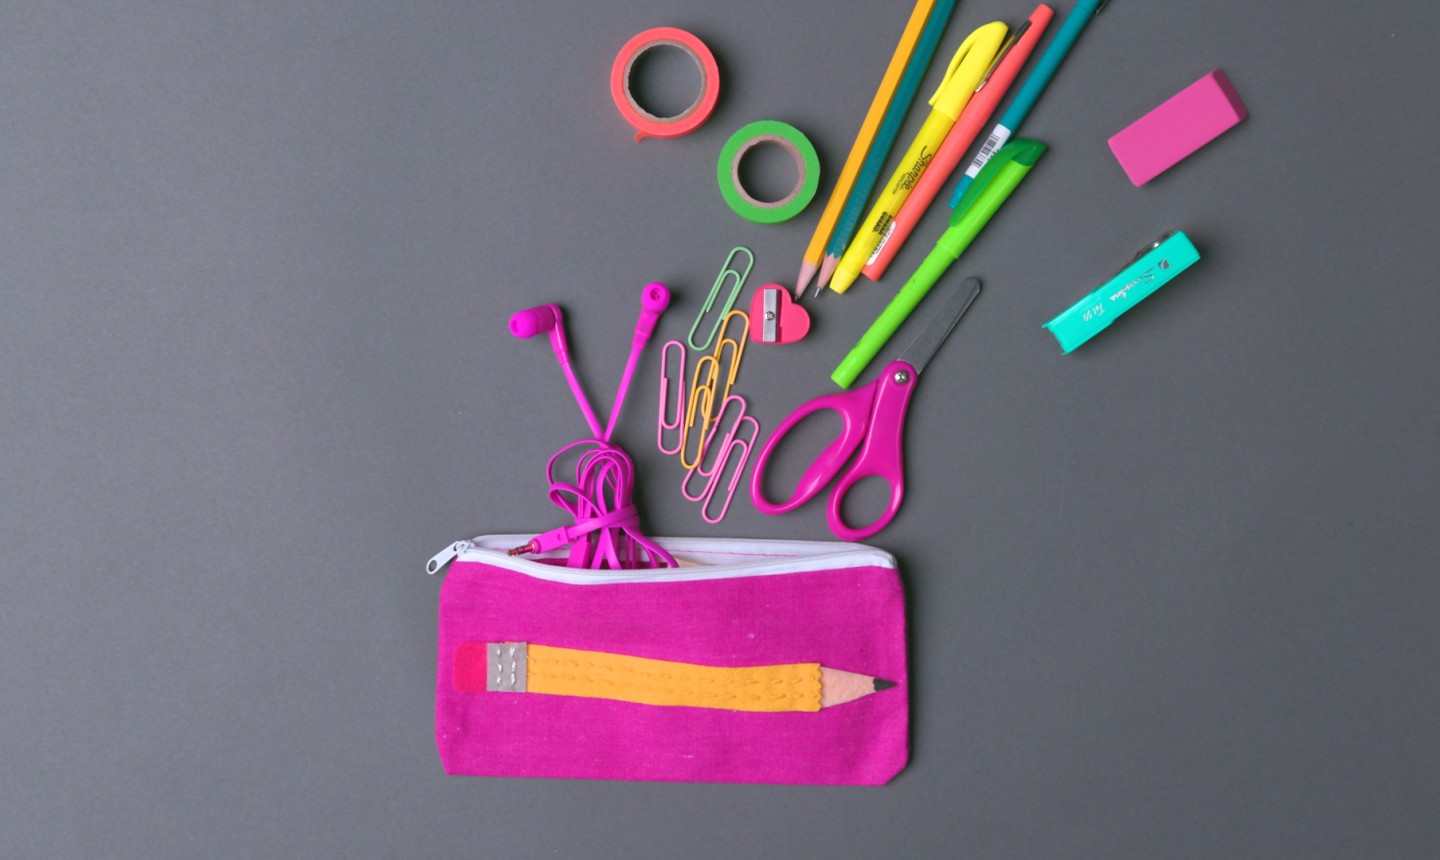
Fill ‘er up with your favorite school supplies or accessories, and you’re ready for on-the-go creating!
Cool i like it